
You are currently browsing the category archive for the ‘Compost’ category.
As you move away from cling wrap, there are a few alternatives.
One option is beeswax wraps, they are now sufficiently popular that you can buy in many stores, particularly those with an eco-conscious focus.
The other option is to make your own. I thought I would give it a go, as happened to have some beeswax I had bought from a local community garden. Here is a simple method that I have tried with reasonable success, stolen from the Waste Not book.
Items needed:
- piece of cotton (30cm x 30cm)
- 2 sheets of baking paper
- 2 tea towels
- 1/2 cup grated beeswax
- plus an iron and ironing board
Steps:
1. Lay down a tea towel on the ironing board and place sheet of baking paper on top.
2. Place the cotton in the middle of the baking paper,
3. Sprinkle grated beeswax evenly over the cotton.
4. Cover with second piece of baking paper, then cover with second tea towel.
5. Run a hot iron over the top until the wax has melted (around 5 minutes).
6. Peel back the top tea towel and baking paper layer.
7. Slowly peel the beeswax-covered cotton off the bottom piece of baking paper.
8. Drape the beeswax wrap over a drying rack. Let cool for 5 minutes.
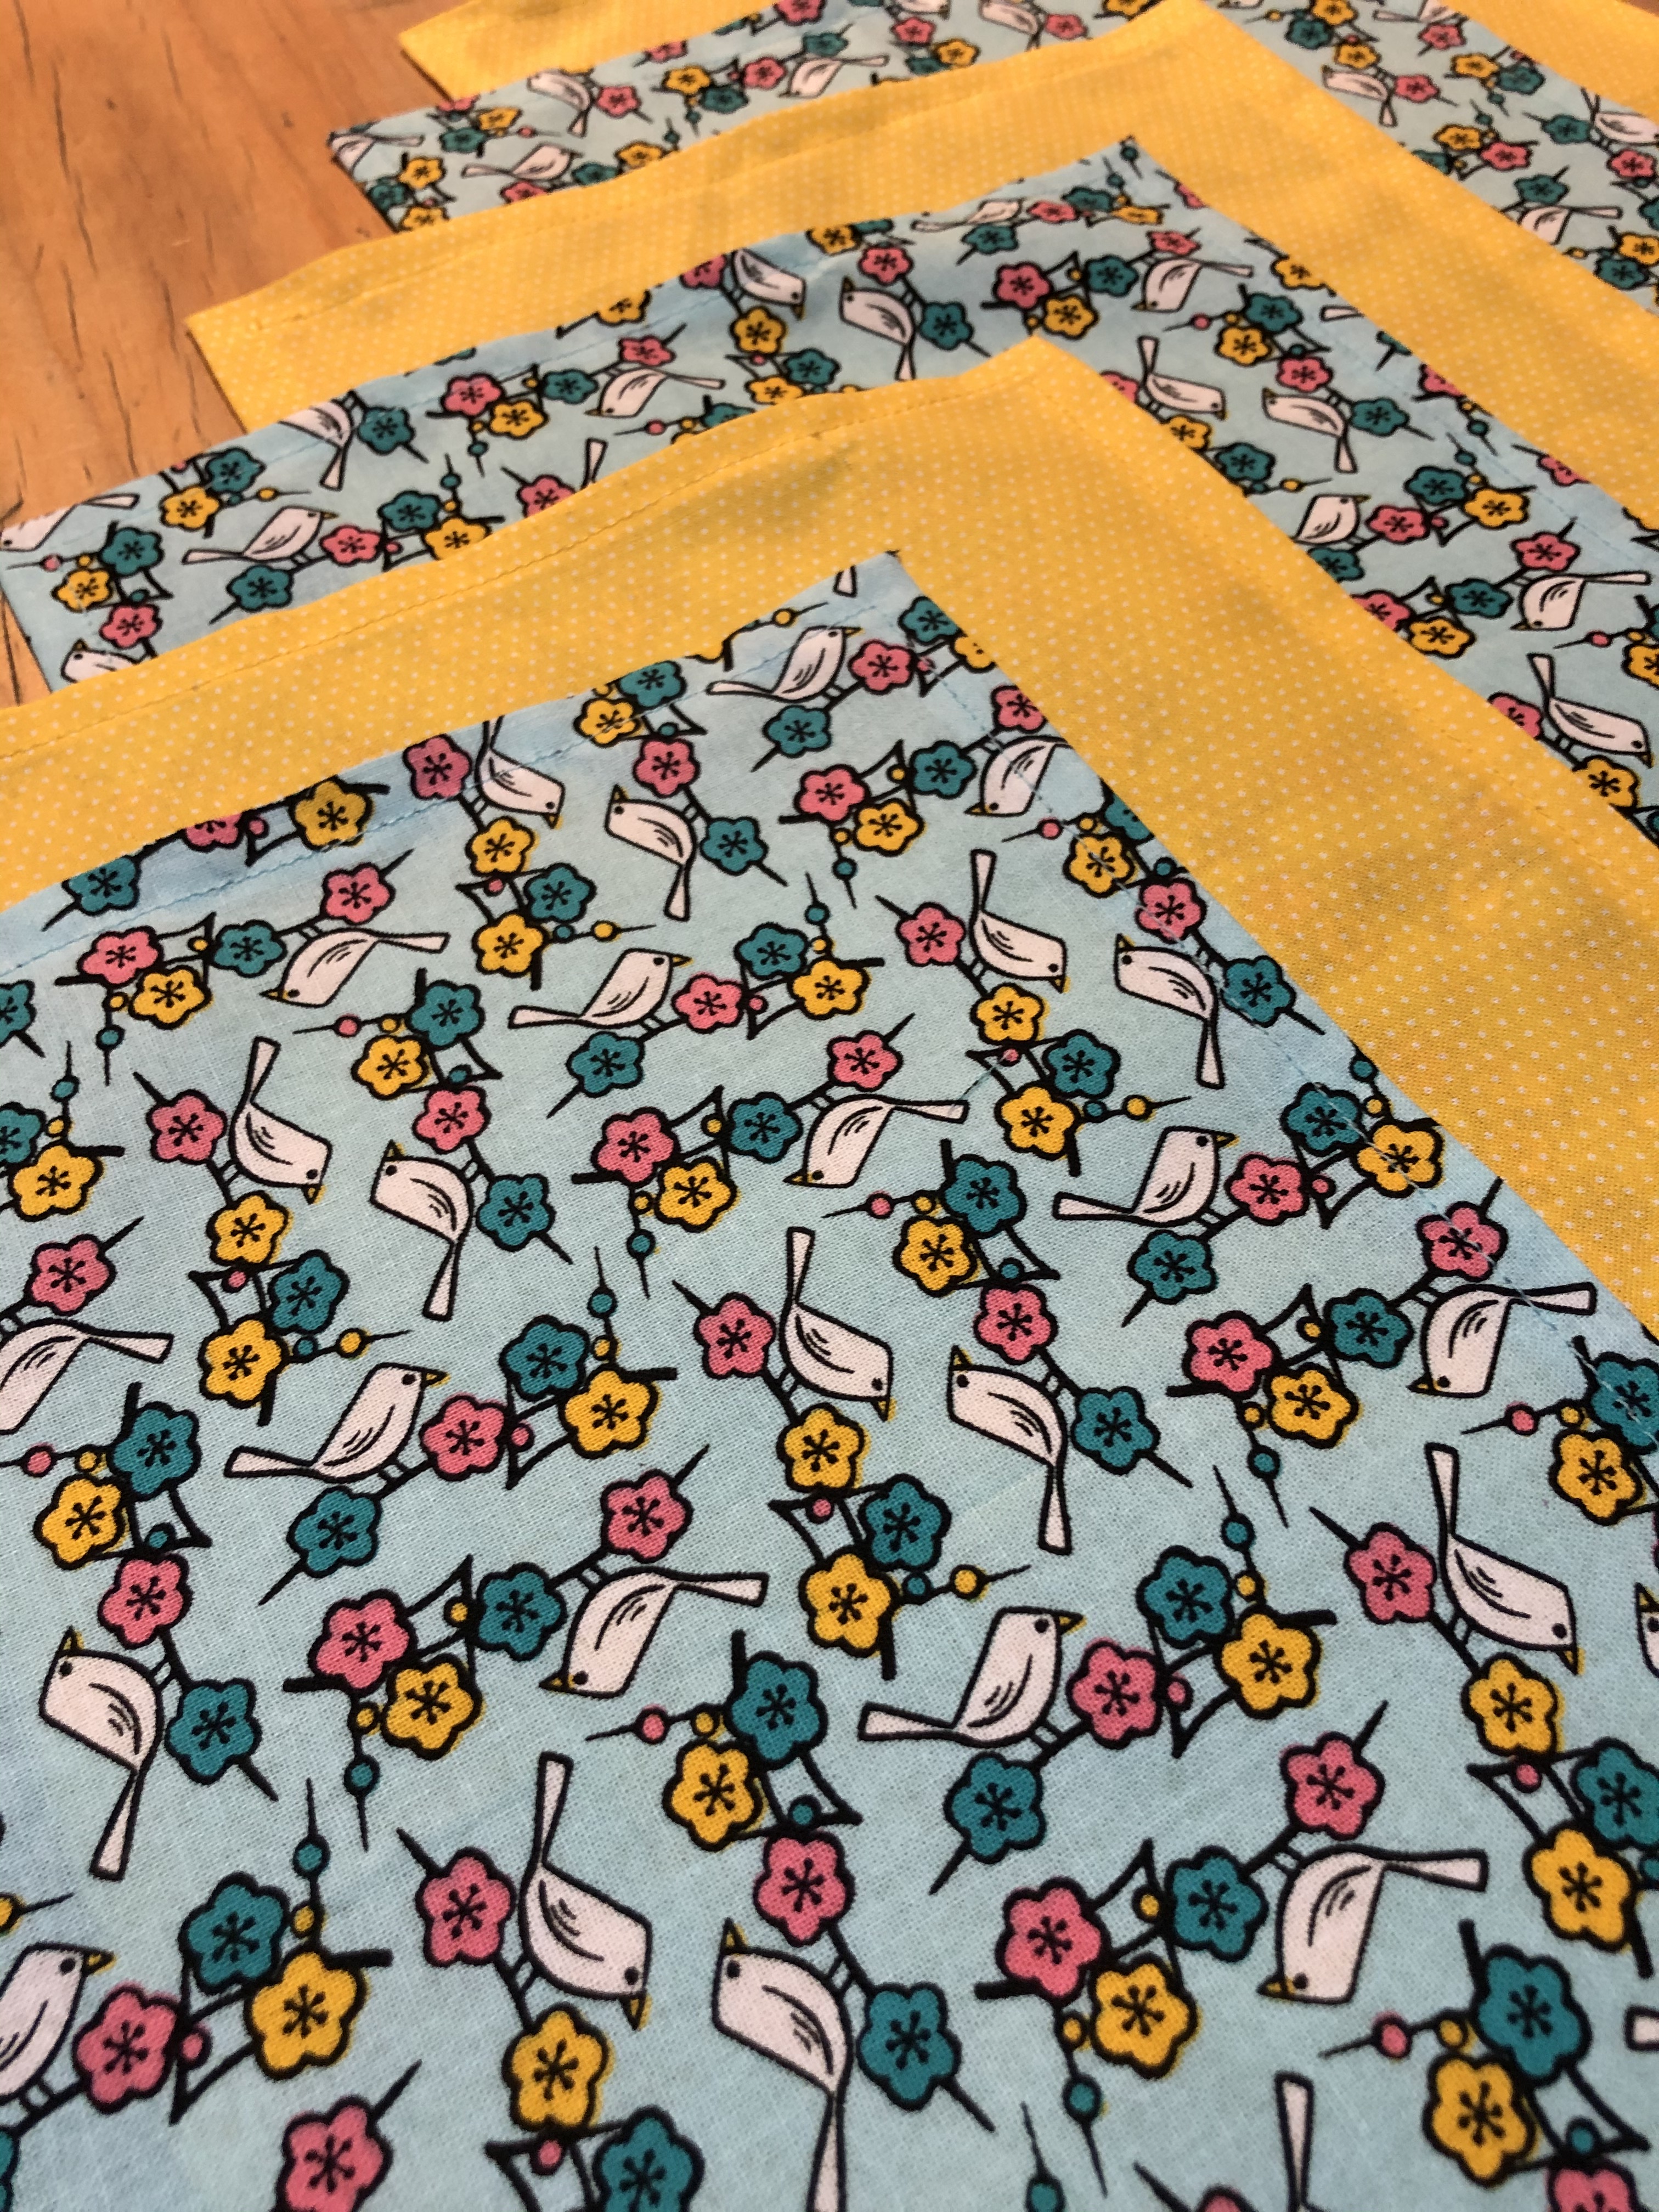
Here is my finished product below. I will post some photos later of the product in actual use!

Your beeswax wrap is now ready to use and can be placed over bowls and wrapped around food to keep the food protected and sealed.
Over time the wax will start to reduce and you can then either repeat the above process to get extra life out of the wrap or when the beeswax wrap comes to the end of its life, put it in your compost.
Do not use beeswax wraps to store meat as they hang onto bacteria and do not use in the microwave or oven, as the beeswax will melt!
How to reduce waste and greenhouse gas emissions has been testing my creativity. What do you do with all those random spare and leftover bits that you normally would throw in the bin?
We use a compost bin, but there are still food waste items to avoid putting in your compost bin, these include: fruit stones, onion skins, citrus peels and eggshells.
Eggshell crush
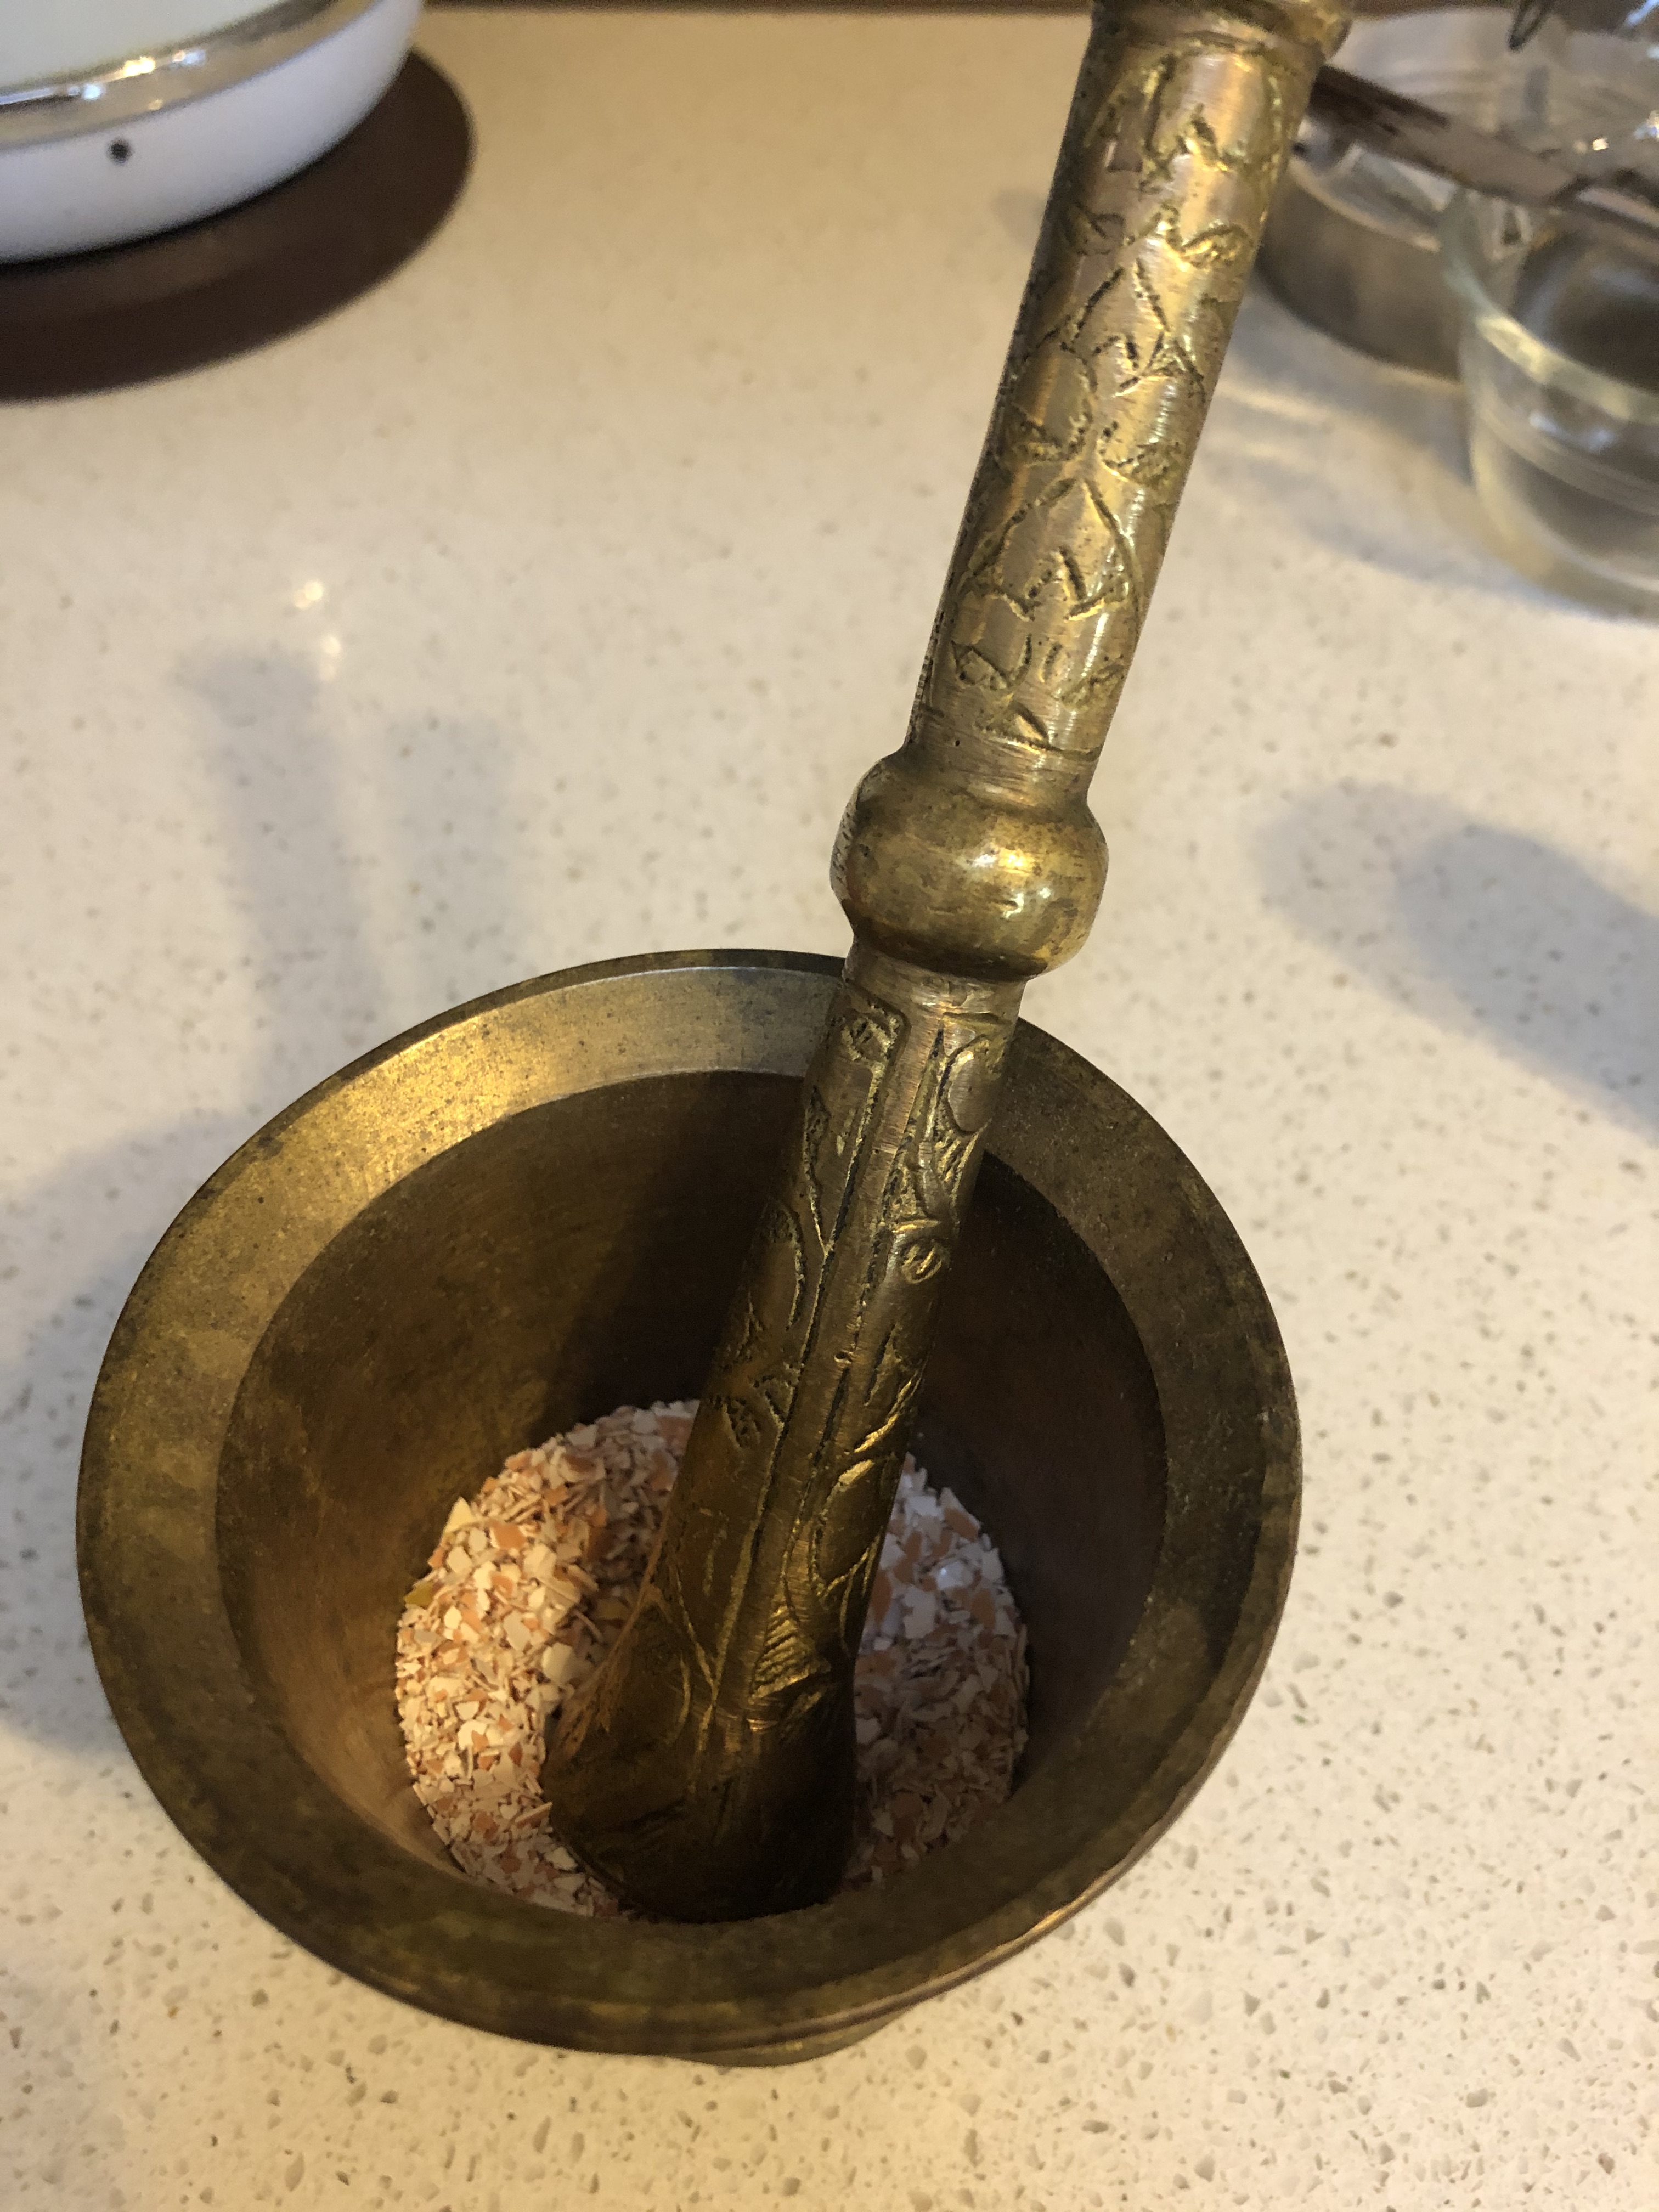
Let’s start with eggshells, theoretically they can go in your compost, however worms can’t eat them and they take a long time to break down. Often when I empty my composted food scraps, I will find amongst the soil almost fully formed eggshells looking exactly the same as when I threw them in 6 months ago!
The best solution I have come up with, is to put them in a low oven at around 120-150 degrees celsius, for about 10-15 mins. Once they are brittle, pulverise them with a mortar and pestle. While this is a longer process than simply throwing them in a bin, I can recommend the crushing of eggshells with a pestle as very therapeutic!
Afterwards, sprinkle them in your garden where ever you want. This could be in the compost bin, but I also scatter mine around my green leaf vegetables, as I have heard it slows down the snails, slugs and other creatures that like to nibble on leafy greens.
Keep reading for further updates on uses for all those other pesky items, such as citrus peels etc. and as always, would love to hear any new or alternate ideas for using up random food scraps.
True confession, I am addicted to tissues. I use tissues all the time, to blow my nose, wipe my eyes, wipe things down, as a napkin and so it goes on. Although tissues are biodegradable, they are also single-use products.

Tissues are made from paper pulp and are usually infused with a chemical binder that helps the tissue retain its shape. I do semi-regularly throw tissues into my compost bin, which is probably better than throwing them in the general waste bin.
If you do have to use tissues, ideally find brands that:
- Use FSC® certified fibre. FSC is a third party certification that is internationally recognised as the global ‘gold standard’ in forest certification by leading environmental groups including Greenpeace and WWF®. FSC certification means that the fibre use to make the tissue products is from forests that are environmentally responsible, economically viable and socially beneficial.
- Are 100% bamboo – see for example Forest Friendly Tissues.
Even better, why not try a hankie. It may sound a little bit old-fashioned, but a hankie can last for thousands of uses. Sure you need to wash them regularly, but they can be used on repeat. I have even tried making some myself….but the biggest challenge for me right now is changing the habit, the tissue addiction!


One of our more recent adventures has been the purchase of a worm farm (prior to buy nothing new month!). I was really keen to give it a try – just to see how it worked.
Here’s what we did to set it up.
1) Purchased one worm factory and one box of 1,000 worms (some of these are worm eggs and not live worms).
2) Mixed up some worm soup (peat brick and water).
3) Set up the box and mounted it on some bricks.
4) Lined the inside of the top level with the cardboard packaging.
5) Poured in the worm soup and let it slowly drain.
6) Then put in the worms.
Voila, one operating worm farm! The boys had fun and we have now had the worm farm for around 8 weeks and it seems to be working well.
I haven’t put in too many kitchen scraps, as it does advise you not to overload it to start with. I have also noticed that you generally need to cut things a bit finer, whereas with the compost bin I often put vegetable scraps in without dicing them more finely.
One of the main advantages of a compost bin is the worm tea (wee) that comes out the tap at the bottom and if diluted 1:10 with water, is a great fertiliser for your garden.
 Source: Simon Howden / FreeDigitalPhotos.net
Backyard chooks appear to be making a comeback in Australia.
Certainly suburban Canberra lends itself to this pursuit, with the average backyard still big enough to fit a couple of free ranging hens. Personally, I am plotting my own foray into the world of chook ownership and have been amazed at the range of chicken related businesses around.
My grand plan is to start with an egg incubator so that our kids can see the chickens as they hatch. In the meantime, we will also need to do a bit of reconfiguration in our backyard to fit in a chicken coop. At my current rate of organisation I’ll be ready by this time next year!
Some reasons to try chook ownership include:
- they are productive pets (i.e. they produce eggs)
- they can get rid of grubs and add free fertiliser to your backyard
- they eat your food scraps and
- can help children understand in a practical way where their food (particularly eggs and chicken meat!) comes from.
For those who are a step or two ahead of me in taking on the chook ownership challenge, here are some businesses that can give you a hand.
Canberra Chooks – Canberra
Chicks in the City – Canberra and surrounds
City Chicks – Brisbane, Sydney, Melbourne
Hatching Chicks – Canberra
Rentachook – Sydney and surrounds, will ship to anywhere in Australia (for a small fee!)
And for all you ever wanted to know about keeping chickens see the Keeping Chickens Blogspot.
